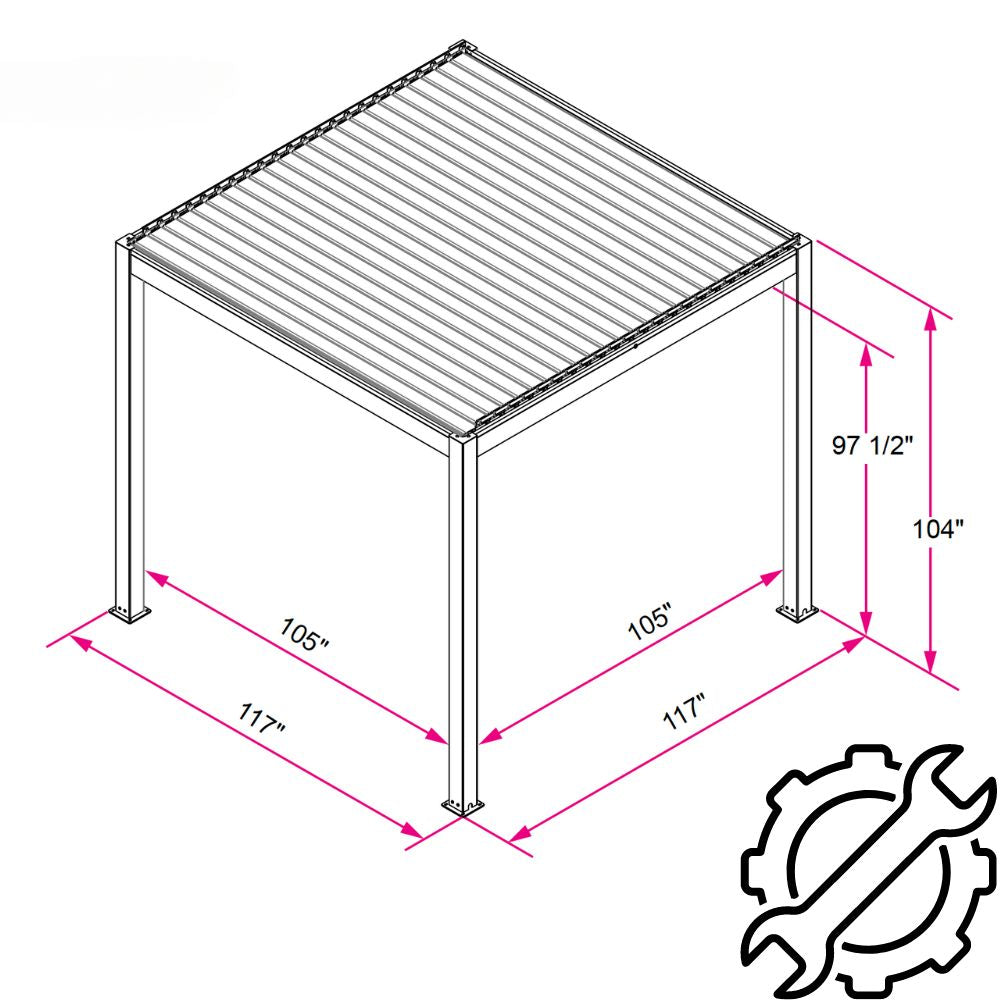
-
Custom Villa Pergola 2.0

Installation Guide Custom Villa Pergola 2.0
-
Villa Pergola 2.0 Installation
Before you start assembly. Lay it out like the 3D rendering and QC video we send, it will have all the labels on it like this in the link below. It will be as easy as putting a lego together.
Remember. Don’t use an impact driver. It is likely you will over tighten the bolts in between the louver and connecting bar.
You can find general instructions below of how each screw goes where and how they are done.
- Paper Instruction: FreeStanding => Custom Villa Pergola 2.0 Freestanding
- Paper Instruction: Wall Mount => Custom Villa Pergola 2.0 Wall Mount (louver perpendicular to wall)
- Paper Instruction: Wall Mount 2 => Custom Villa Pergola 2.0 Wall Mount (louver parallel to wall)
Electrical:
Pergola + Lighting : 110V 3AMP
Screen: 110V 2AMP
Heater: 110V 14AMP
More Villa Pergola Installation Guides
-
Villa Pergola Freestanding - 10'x10' / 10'x13' / 13'x13'
See installation guide -
Villa Pergola Freestanding - 13'x19'
See installation guide -
Villa Pergola Wall Mount - 10'x10' / 10'x13' / 13'x13'
See installation guide -
Villa Pergola Wall Mount - 13'x19'
See installation guide -
Villa Pergola 2.0 Freestanding - 10'x15' / 10'x19' / 13'x15' / 13'x19'
See installation guide -
Villa Pergola 2.0 Wall Mount - 10'x15' / 10'x19' / 13'x15' / 13'x19'
See installation guide -
Custom Villa Pergola 2.0
See installation guide
Villa Pergola Accessories Installation Guides
-
Fan Beam - Villa Pergola 2.0
See installation guide -
Rain Sensor - Villa Pergola
See installation guide -
Motorized Wind/Sun Resistant Screen - Villa Pergola
See installation guide -
Premium Sliding Shutter - Villa Pergola
See installation guide -
Manual Wind/Sun Resistant Screen - Villa Pergola
See installation guide -
BON 1500W Smart Heater
See installation guide -
Premium Slat Aluminum Fencing - Villa Pergola
See installation guide -
Bond Bridge Smart System
See installation guide -
Premium Sliding Glass Doors - Villa Pergola
See installation guide -
Villa Pergola 1.0, V2 Motor Installation Instruction
See installation guide
